Written by Uhro
Edited on
14 September 2022
·
07:35
How do I build in a hard drive?
You have purchased a hard drive to replace your old drive or for more storage space in your computer. But how do you actually install such an internal HDD? In this article, I will explain that to you.

What do you need?
- Tool to open the computer case
- An antistatic wrist strap
- A desktop computer
- A new internal HDD
- A cup of coffee
1. The basics
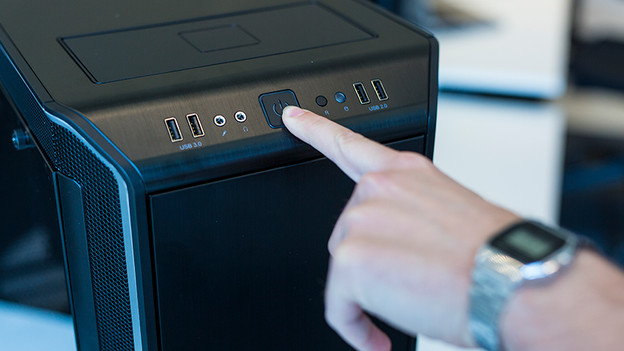
Shut down your PC completely and switch it off: not on standby. Then remove all cables from the back of your desktop computer. Start with the power cable. Have you removed all cables? Press the power button again so that all the power that remains in the power supply actually disappears.
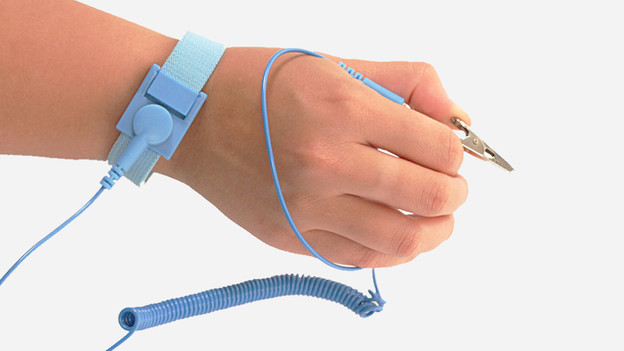
2. Avoid static shocks
When you replace a PC component, it's important that you're not statically charged. A static shock, not matter how small, can be harmful for the components in your desktop. We advise to wear an antistatic wrist strap. You can also discharge yourself by regularly touching an earthed iron object. This can be an iron radiator.

3. Open your computer case
Place the computer case on the table with the right side down. If necessary, use a cotton towel to protect your cupboard and for extra grip. Turn the back of the computer case towards you. You now see 2 or 3 large screws. Remove this and slide the side of your PC backwards. You now see the inside of your desktop.
When replacing your hard drive you have to replace both sides. Therefore, put your PC upright and also remove the right side in the same way. Your hard drive is in fact attached to its bracket on 2 sides.

4. Locate the hard drive
Do you already have a hard disk in your PC? Then you will usually find this screwed into a metal bracket at the front. You can recognize it by the name and the SATA cable that runs to your motherboard and power cable that goes to your power supply. In most regular computer cases there is enough space for an extra internal HDD.

5. Remove your current hard drive
Skip this step if you want to add a hard disk
Disconnect the power cable and the SATA cable from the back of your hard drive. Loosen the screws of your internal HDD on the left and right and pull the hard drive out of the frame. Do this calmly so that the disc does not shoot backwards. This way you prevent damage to other computer components.
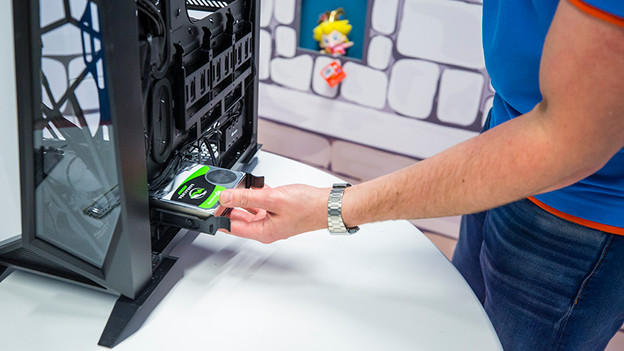
6. Insert your new hard drive
Slide the internal HDD into the correct bracket in a free space. Many cupboards have an edge, so that they immediately fall into place. It is easy to connect a power cable and SATA cable first because you still have room to maneuver. Did you do this? Then attach the correct screws so that your disc is securely attached.

7. Use it
Slide the side back onto your computer case and reconnect it immediately. Have you inserted a blank hard disk in your PC? Then place a flash drive with your operating system to install it? If you have placed an extra disk, the PC will boot normally. Once arrived in your operating system, you immediately see the new hard drive and you have a lot of extra storage space. Can't use the hard drive yet? Then look at the next page.
Article by Uhro
Components Expert.