Written by Jan
Edited on
23 August 2022
·
12:45
How do you clone your SSD with Windows?
Have you purchased a new 2.5-inch SSD and do you want to transfer the data from your current SSD? We also call this process cloning or migrating. In this article, we explain how to transfer the data from your old SSD to your new SSD. The same steps also work if you want to transfer data from an old SSD to a hard drive (HDD). You can continue on your new drive with a one-on-one Windows copy.

Supplies
In order to go through the steps in this step by step approach, you need the following products:
- A laptop or desktop PC
- The free Windows program Macrium Reflect Free
- A SATA/USB adapter
- A SATA SSD (2.5 inches)
- Time (the transfer can take up to 8 hours)
- Optional: a hard drive enclosure for your old drive

Step 1: make a connection
Before you start the transfer, it's important that you first connect the SSD to your computer or laptop. You do this with the SATA/USB adapter. This adapter has 2 USB cables. One of these powers the drive. The other facilitates the data transfer. You insert both cables into the USB ports of your computer. Connect the other end to the drive. Note: it's possible you only have 1 USB cable. This is a USB 3.0 cable that transfers data and supplies power via the same cable.

Step 2: select the old SSD
Start the program Macrium Reflect Free. In the main screen of the software, you'll see the drives connected to your computer in the top screen. Select your drive by checking the box under the drive icon. Then, choose the option Clone this drive at the bottom.

Step 3: select a new hard drive or SSD
A new screen appears. Select the option Select a drive to clone to and choose your new hard drive or SSD.
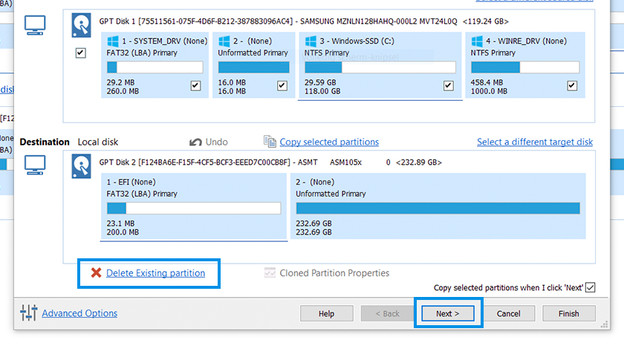
Step 4: partitions (optional)
You can see that the drives are subdivided into smaller pieces. These are partitions. Partitions organize the drive so that you can use a hard drive as if it consisted of several smaller drives.
Delete any current partitions on the new SSD by selecting it and clicking on Delete existing partition. Next, select the partitions on the source drive and press the Copy selected partitions option. Is your new SSD bigger than the old one? Next, you can make a partition larger by selecting it and pressing * loned Paritition Properties* and adjusting it here. Now, press Ok and then Next. Also press 'Next' if you do not want to do anything with the partitions.

Step 5: start cloning
Press Next again. You now get an overview of the settings. Go through it and press Finish. Choose a name for the backup and press Ok followed by Continue. The cloning process starts. When this process is complete, you can use the new cloned SSD.
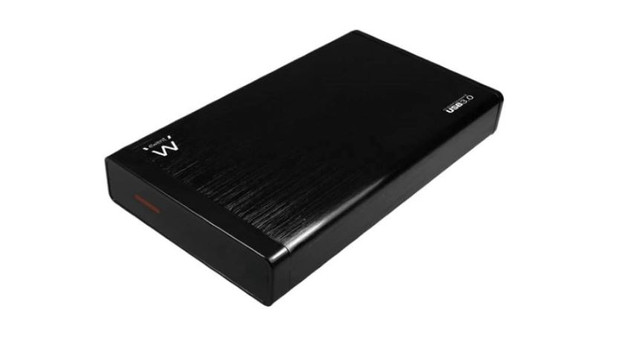
Step 5 (optional): a hard drive enclosure for your old drive
Now that you've replaced your drive, you don't immediately have to throw it away. Why not use an external hard drive enclosure. When you place your drive in the enclosure, you can connect it to your computer via a USB cable. That way, you can still make backups. Keep in mind that the transfer speed depends on the USB connection in this case and that it might be slower than you're used to from the drive.